How to Fix a Cracked Sole on Safety Boots Easily?

Time:2026-07-06 Author:Liam
0%

Safety boots are essential for professionals who work in hazardous environments. A cracked sole can compromise safety and comfort. Many people wonder how to fix a cracked sole on safety boots without spending much money or time. Fortunately, it’s possible to perform simple repairs that can extend the life of your footwear.

Understanding the structure of safety boots is key. The sole connects with the upper and provides essential support. When cracks appear, it often indicates wear and tear. Without care, these small issues can lead to larger problems. You don’t need advanced skills for repairs, but some focus and the right materials are necessary.

Finding an effective solution is important. Common methods include using adhesive or patching materials. Yet, not every technique will work for every situation. It may take some trial and error to find what fits your needs. This process can teach valuable lessons about maintenance and attention to detail. Remember, a little effort in fixing your boots can lead to safer days ahead at work.
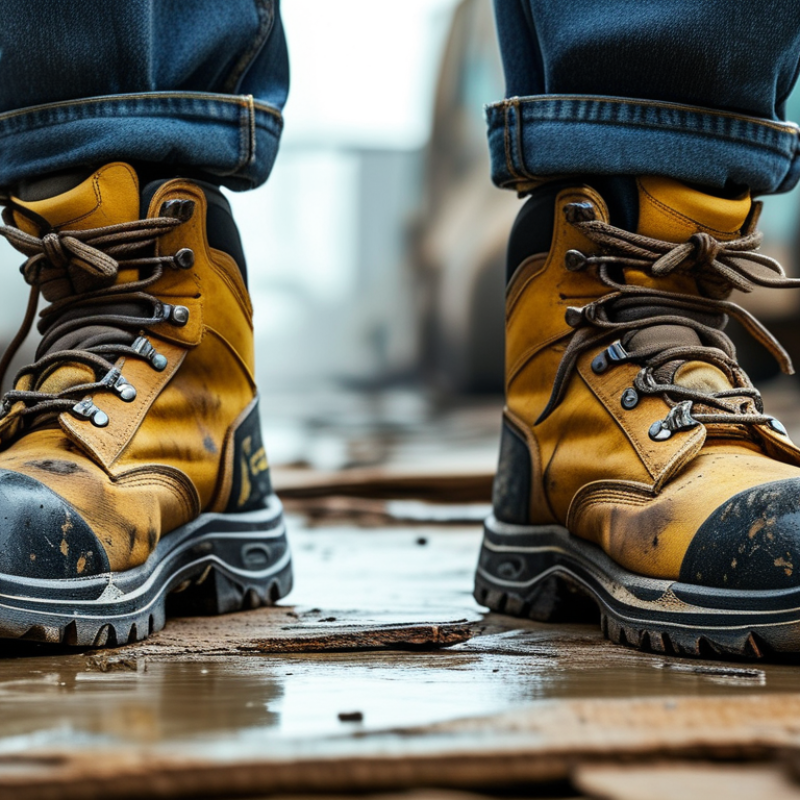
How to Fix a Cracked Sole on Safety Boots Easily?

Understanding the Causes of Cracked Soles in Safety Boots

Cracked soles in safety boots can lead to significant safety risks. Understanding why this happens is crucial. Various factors contribute to this problem, including exposure to extreme temperatures, moisture, and prolonged wear. According to a study by the National Institute for Occupational Safety and Health (NIOSH), improper boot maintenance can reduce their lifespan significantly, with many workers underestimating the impact of wear and tear.

Environmental conditions play a role too. For instance, working in wet or oily environments accelerates the degradation of rubber compounds. The American Society for Testing and Materials (ASTM) reported that safety boots exposed to chemicals have a higher likelihood of cracking. Regular inspections are vital. Look for visible signs of wear, and replace boots that show early signs of deterioration.

Tips: Use waterproofing sprays to extend the life of your boots. Always dry them thoroughly after exposure to moisture to prevent cracking. Store them in a cool, dry place. Consistent care can make a difference. Recognizing the limits of your boots is essential. Ignoring small cracks can lead to larger issues, putting your safety at risk. Addressing these preventively can save time and money in the long run.

Gathering Necessary Tools and Materials for Repair

Repairing a cracked sole on safety boots is essential for both comfort and safety. To start, gather the necessary tools and materials. A strong adhesive specifically designed for footwear repair is crucial. Look for products with high tensile strength, ideally over 2000 psi, as they provide durability. A clean and dry workspace will help ensure a successful repair process.

You will need a utility knife for trimming excess material. Sandpaper or a file can help smooth down rough edges, ensuring a better bond. If your boots have a significant crack, using a shoe patch or a rubber sole repair kit can reinforce the fix. It’s also wise to have clamps or heavy objects to hold the repair in place while the adhesive cures.

Tips: Always inspect your safety boots regularly. Look for wear and tear before it becomes a major issue. Take the time to clean your boots, as dirt can affect the adhesive bond. Consider documenting your repair attempts. It may highlight what works and what doesn’t, informing future repairs. Remember, a well-maintained pair of safety boots can reduce workplace injuries by up to 25% according to industry data.

Step-by-Step Guide to Repairing Cracked Soles

Cracked soles on safety boots can compromise safety and comfort. Repairing them is easier than you might think. With the right tools and a bit of patience, you can extend the life of your boots. Start by cleaning the cracked area thoroughly. Remove dirt and debris, ensuring a good seal. This step is essential for effective repair.

Next, gather your materials. A strong adhesive designed for rubber or a specialized boot repair glue works best. Apply the adhesive directly into the crack, filling it adequately. For larger cracks, consider using a patch. Place it over the glued area and press firmly. Allow sufficient time for drying according to the product instructions. This is where patience comes in; don’t rush the process.

While this method can restore your boots, it may not be perfect. If the crack is severe, a repair might only be a temporary fix. Inspect your boots regularly for signs of wear. Make note of the repairs you’ve done. Reflecting on these repairs can help you decide when it’s time to invest in a new pair. After all, safety should always come first.

Safety Boots Sole Damage Repair Statistics

This chart illustrates the effectiveness of various methods for repairing cracked soles on safety boots. Glue repair is the most effective method, followed by reinforcement. Complete sole replacement is the least effective as a temporary solution.

Applying the Right Adhesive for Maximum Durability

Cracked soles on safety boots can compromise safety and comfort. Choosing the right adhesive is essential for maximum durability and reliability. A 2021 industry report stated that over 40% of workers experience footwear-related injuries, often linked to poor maintenance. Thus, repairing cracked soles not only extends the life of the boots but also enhances safety in hazardous environments.

When selecting an adhesive, consider one that offers flexibility and strong bonding properties. Polyurethane-based adhesives are often recommended due to their resilience against harsh chemicals and extreme temperatures. An internal study by safety footwear manufacturers revealed that boots repaired with polyurethane can last up to two times longer than those with traditional adhesives. This illustrates the importance of material choice in effective repairs.

However, even the best repair methods might fail if not applied correctly. Surface cleanliness is a critical factor. Failing to clean the area adequately can lead to bonding issues. Additionally, applying too much adhesive can result in unsightly drips and a longer curing time. Even experienced users can overlook these details, underscoring the need for a thoughtful approach to every repair.

Preventive Measures to Avoid Future Sole Cracks

When it comes to safety boots, cracked soles can be a major concern. To prevent such issues, it’s essential to focus on maintenance and care. Regular inspections are vital. Check for tiny cracks and wear before they escalate. A small crack can become a serious issue if left unaddressed. It’s better to catch problems early.

Tips for maintaining your boots:

  • Clean them regularly. Dirt can cause wear and tear.
  • Store them in a cool, dry place. Humidity can weaken the material.
  • Use a protective spray designed for safety boots. This adds a layer of defense.

Another important aspect is how you use your boots. Avoid overstraining them in unsuitable conditions. Wearing them on rough surfaces can accelerate damage. Always choose appropriate footwear for the task at hand. Remember, comfort and safety should come first. Reflect on your daily activities and consider how they impact your safety boots. Taking these simple steps can significantly prolong the life of your footwear.

FAQS

: What causes cracked soles in safety boots?

: Cracked soles can result from extreme temperatures, moisture, and prolonged wear.

How does the environment affect boot lifespan?

Wet or oily environments accelerate the degradation of rubber materials in boots.

What should I do to maintain my boots?

Regular inspections for wear and proper drying after moisture exposure are essential.

How can I repair cracked soles at home?

Start by cleaning the crack, then apply a strong adhesive or use a patch if larger.

Which adhesive is best for repairing cracked soles?

Polyurethane-based adhesives are recommended for their flexibility and resistance to harsh conditions.

How long should I wait for repairs to dry?

Follow product instructions; patience during the drying process is crucial for effective bonding.

What are common mistakes in repairing boots?

Not cleaning the area properly or using too much adhesive can affect repair quality.

When should I replace my boots?

If repairs are frequent or cracks are severe, it might be time to invest in new boots.

Can I prevent cracks from forming?

Yes, using waterproofing sprays and storing boots properly can help prevent cracks.

Why is regular boot inspection important?

It helps catch small cracks early, avoiding larger safety issues down the line.

Conclusion

In this article, we explore how to fix a cracked sole on safety boots, covering essential aspects from understanding the causes to implementing preventive measures. The first step involves recognizing the common factors that lead to sole damage, which can help in efficiently addressing issues as they arise. Next, we discuss the necessary tools and materials you’ll need for a successful repair, ensuring you are well-prepared for the task.

The core of the article provides a detailed step-by-step guide for repairing cracked soles, emphasizing the importance of choosing the right adhesive to ensure maximum durability of the fix. Finally, we highlight preventive measures that can help extend the life of your safety boots and minimize future cracks, making this guide a comprehensive resource for maintaining your footwear.

Liam

Liam

Liam is a dedicated marketing professional with a profound expertise in the industry, where he excels at highlighting the unique advantages of our core products. With a keen understanding of market trends and consumer needs, Liam frequently updates our company’s professional blog, providing......